

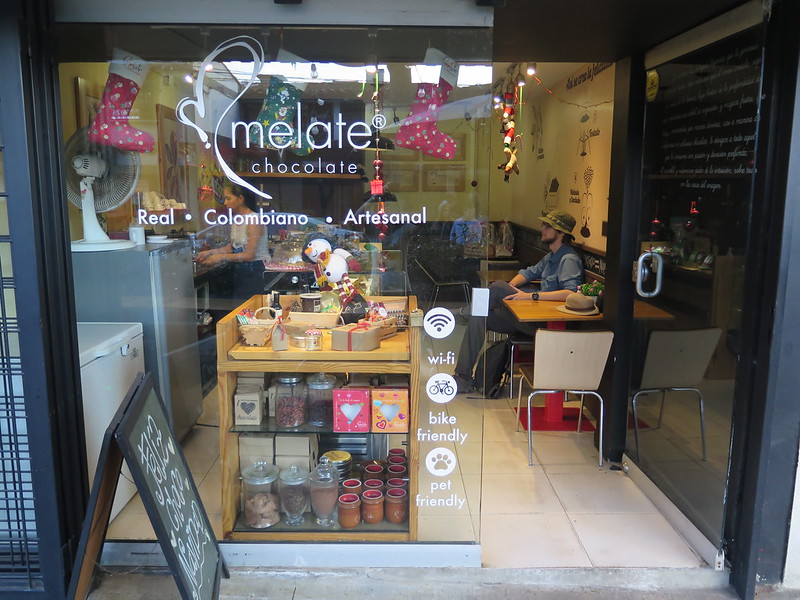
We’ve come so far, through Panama and northern Colombia, with nary a moment to think about the roasted and somewhat ground cocoa beans we’ve been carrying. We needed a coffee grinder to turn our current cocoa product into the final product*, chocolate. Since we finally have a breather in Medellín, we went in search of a coffee grinder to continue our Hostel Chocolate adventure.
Part 1: The search for a coffee grinder
Colombia is one of the top three coffee exporters and is rewnowned for some high-quality brews, but getting a coffee grinder here is nearly impossible. Good coffee gets exported and the people here mostly drink the pre-ground, freeze-dried coffee, so grinding your own coffee just isn’t a thing. We started our search at big-box stores such as Falabella and Exito, big-box stores like Wal-Mart that sell appliances. While they offered coffee-makers, they had no coffee grinders. The next day we tried three independent coffee shops in the Zona Rosa district—two had no coffee grinders, and the last only had a high-end Japanese glass grinder for $100 USD. Eesh. We asked this last coffee shop where we might be able to find an electric coffee grinder, and they suggested a mall in the next district. So we caught a bus there and hunted around until we found a department store. We asked if they had a coffee grinder and indeed they did! But then we asked how much it was, and they said it wasn’t for sale. The grinder was only available as a free gift with the purchase of a KitchenAid mixer for hundreds of dollars. Defeated, we returned to our hostel.
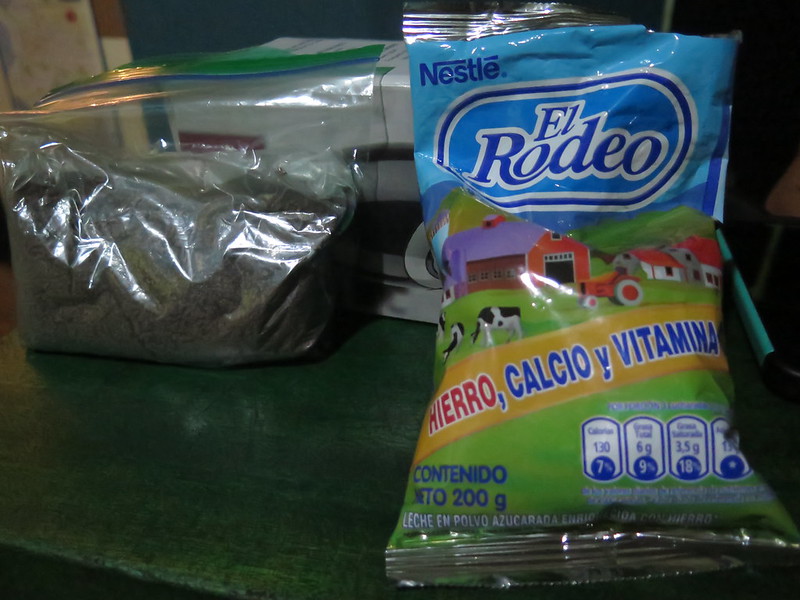
The next day we stopped by a Juan Valdez for a cup of tea, and lo and behold, they had an electric coffee grinder for $25 USD! It was the last one and a bit dented, so I tried to talk them down in price, but the manager said no to my attempts. All the same, WE HAD OUR COFFEE GRINDER! Thinking I could try making milk chocolate without cacao butter, I grabbed some powdered milk on the way home as well. At the time I didn’t notice it says “fortified with iron”. When I realized it I just figured, “the chocolate will be extra healthy?” Hooray!
Part 2: Cacao’s time to grind
That night, I got to grinding the chocolate in hopes of finally completing our chocolate, only to run into the problems of capacity and viscosity. The first problem was capacity—we had roughly 300 g of chocolate, but the machine had capacity for only 50 g at a time.
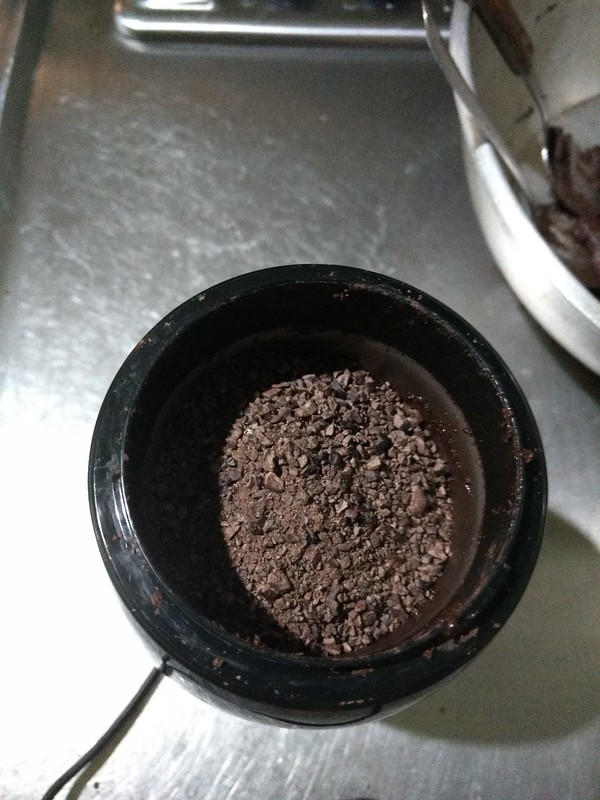
To get the machine to grind the chocolate effectively, I had to grind it for a couple of minutes, open the lid and mix it around, then grind again. I’d repeat this process 2-3 times, so the first batch took about 10 minutes. Despite this, by the end the chocolate had gone from rough grind, to fine powder, then a dark mud, and finally a dense liquid. We had cacao paste, ready for action!
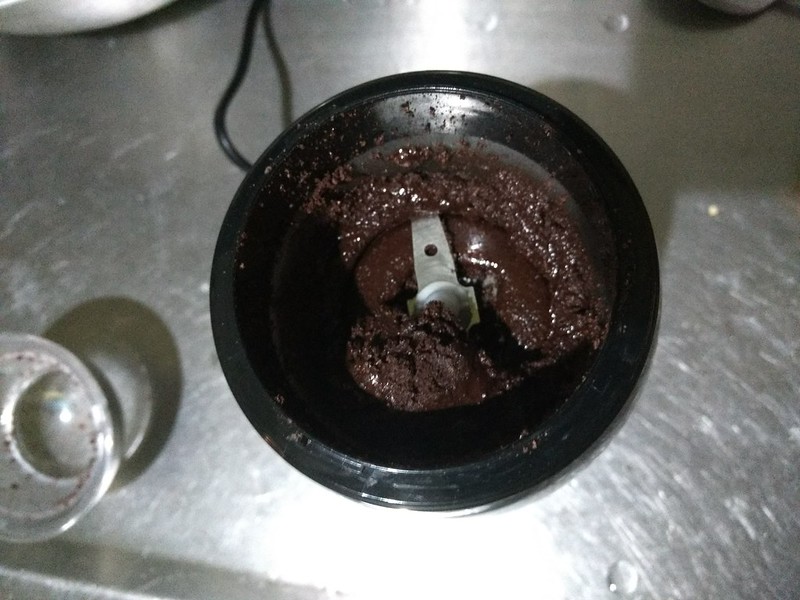
This is when I encountered the second problem of making cacao in a grinder: the viscosity. Cacao paste has a higher viscosity than ground coffee, so the coffee maker wasn’t designed to handle the extra resistance. The coffee grinder’s motor worked harder, and coupled with the reduced heat dissipation from a paste (instead of the drier ground coffee), the machine soon began to overheat. After the second batch the grinder produced a burning smell, and I had to take breaks within and between the following batches to keep the grinder from dying entirely.

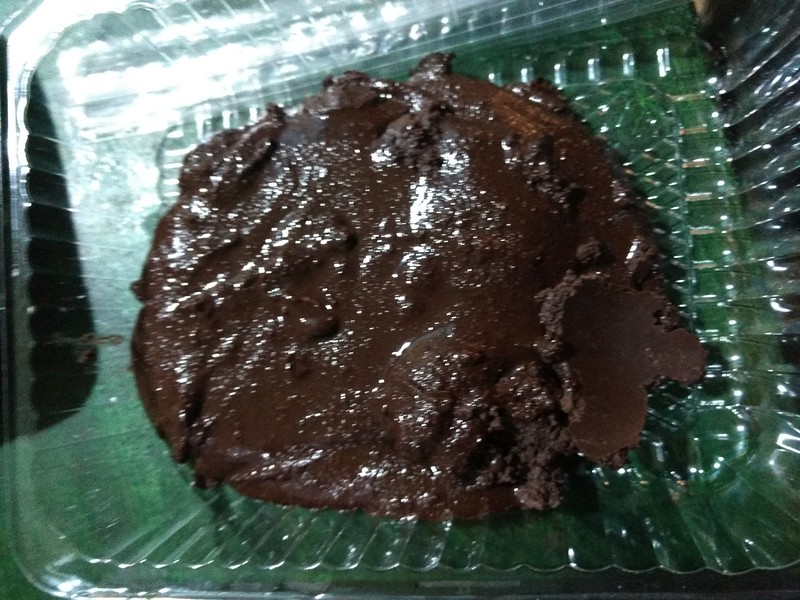
With these setbacks, the cacao grinding took about 3 hours in total, and at the end I had a still-slightly grainy paste. I tried to improve the consistency by heating it a pan to grind it again (above), but this turned into a massive mess. Unhopeful, I mashed it into a clean leftovers container** and set it aside to cool overnight.
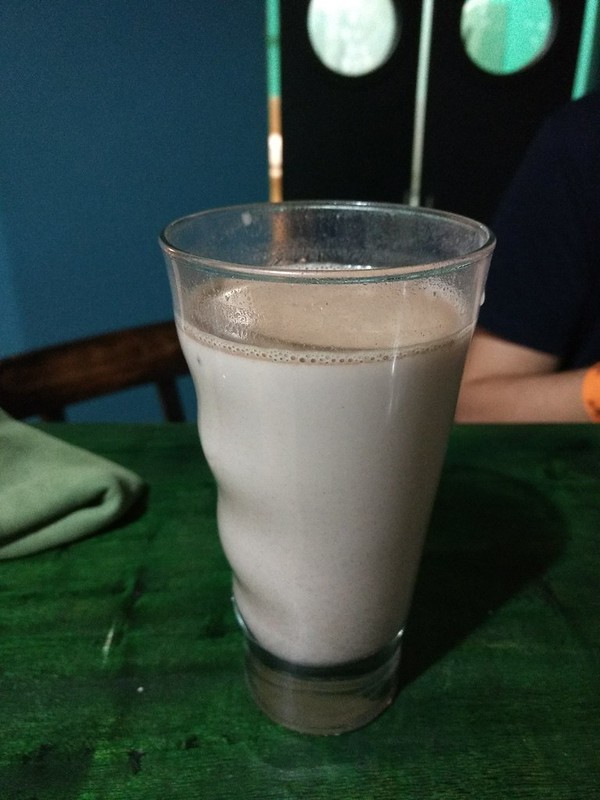
Not wanting to admit total defeat, I also took one spoonful and dissolved it in some milk made from our powdered milk and sugar, and had myself some chocolate milk. It felt like the spiritual equivalent of making lemons out of lemonade, since we didn’t have high hopes for the cacao paste.
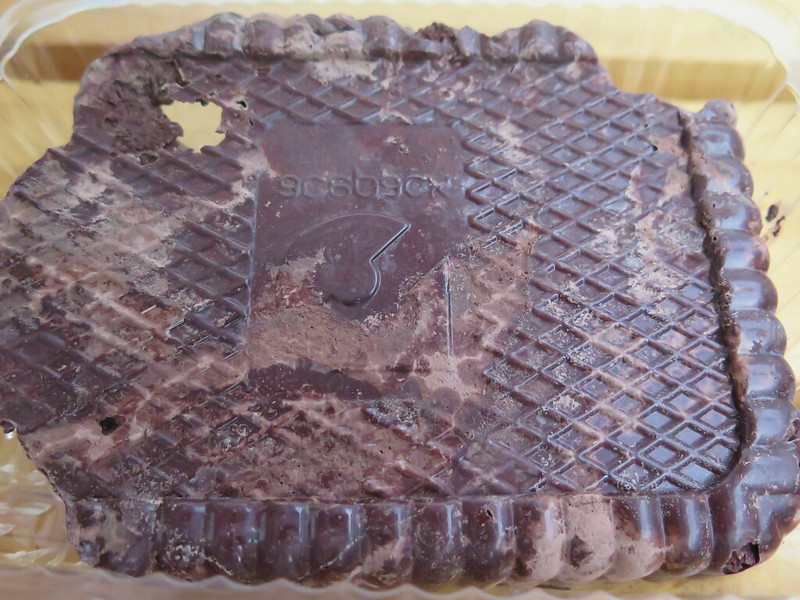
The next day we took a look at the cacao paste and it didn’t look as bad. It had solidified into a dark mass and seemed less grainy, but some areas had white bloom suggesting the fat had separated from the rest of the cacao mass. We were heading to Guatape that day, so I didn’t have time to move forward with the rest of the recipe. But as you’ll find out soon, this was actually a lucky move.
Stay tuned for our adventures in Guatape, the land of many (artificial) lakes, and the culinary conclusion of Hostel Chocolate!
- Natalie
Notes:
* A coffee grinder is actually a subpar tool for making chocolate because the ground cacao particles aren’t small enough and result in somewhat grainy chocolate, but it’s the cheap option. Various kinds of ball mills are used to create small-batch and commercial chocolate, running quickly into the hundreds-of-thousands-of-dollars category. There are cheap ball mills out there for $150-200 that some people swear by for chocolate-making. But I figured our chance of running into one of those in Colombia was pretty much nil.
** When travelling you’re often short on your standard kitchen gear, so saving food containers from restaurants and takeout is insanely useful. It’s basically +1 item for food storage that you can discard or leave behind when you have to move on. We found the Styrofoam boxes don’t keep well, but plastic ones are wonderful. Even the super flimsy plastic ones (like the one in the final photo above) can be reused a few times.

Your writings and your sense of humor make us feel good, guys. 🙂 And, as of today, the chocolate from the plastic container looks like some expensive gourmet brand, which is, most likely, exactly what you made. Can’t wait to read the next part of the story. 🙂
LikeLike